Step 1. Click "Add Subjects" icon

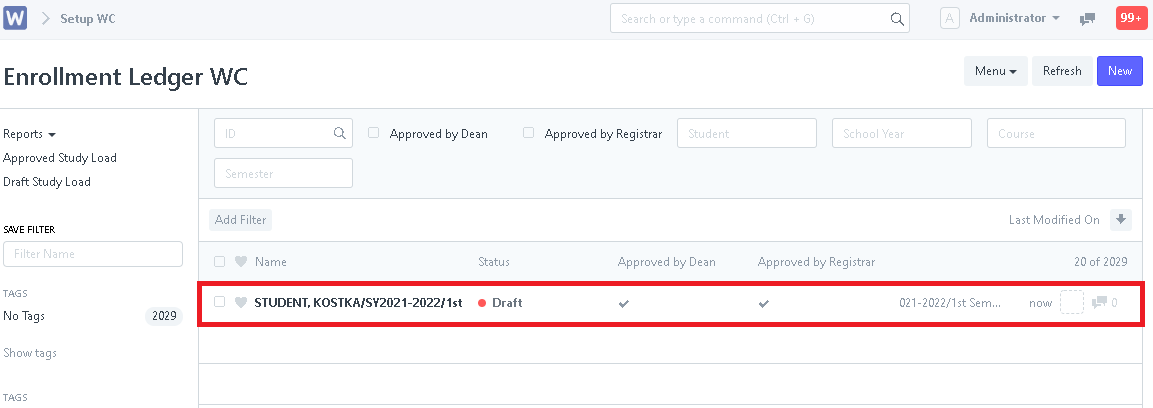
Step 2. After clicking, you will see the submitted entries and draft entries that need to be checked and accepted. Select a specific student.
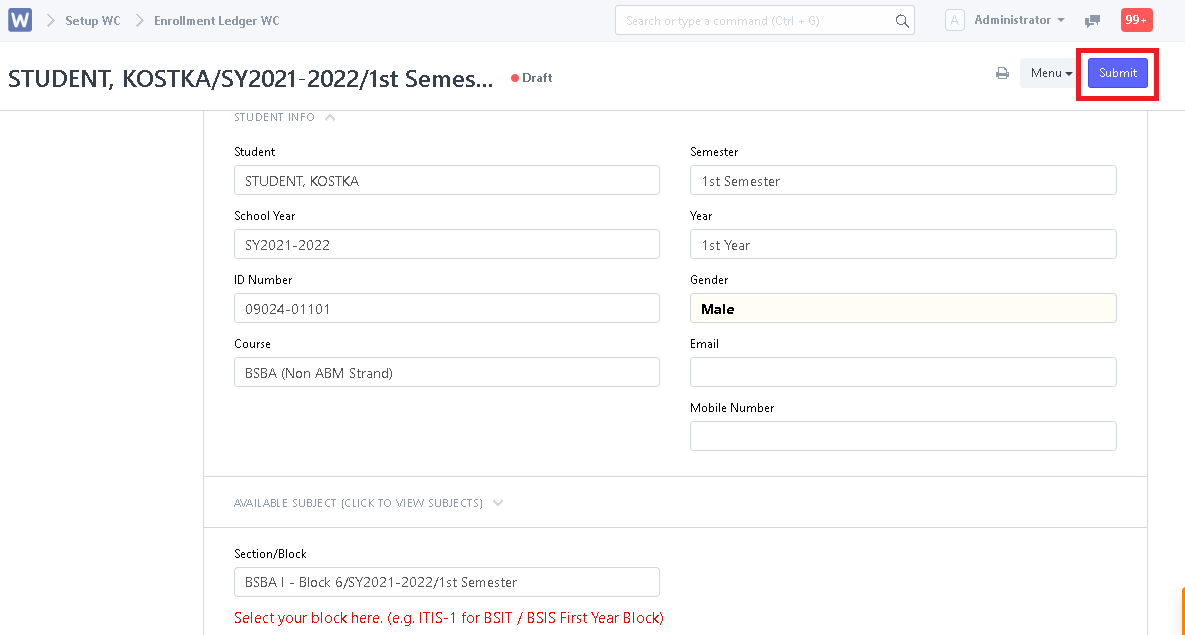
Step 3. Evaluate the entry by checking the subjects and schedules. After evaluating, Click "Submit"
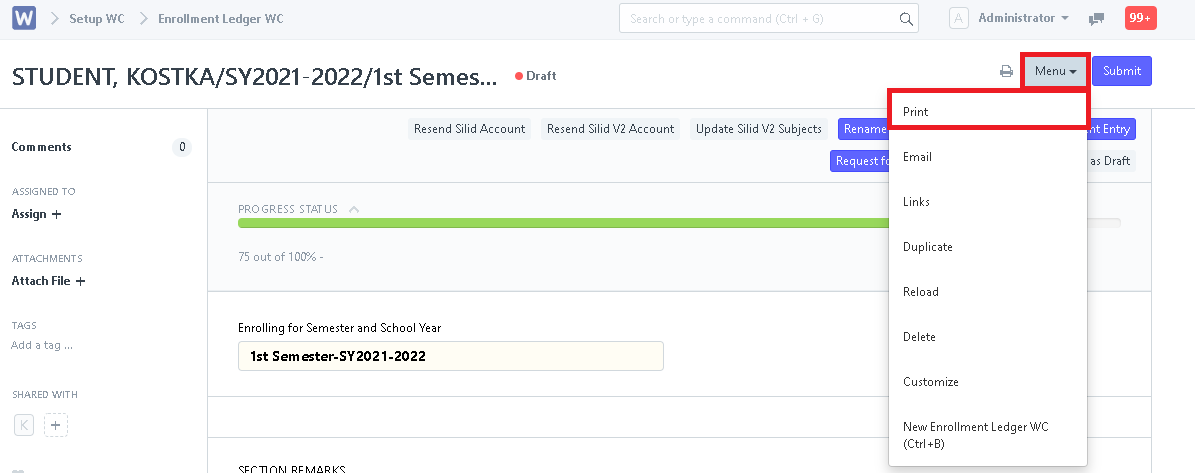
Step 4. Click the "Menu" button then "Print" to print the COR/COE.
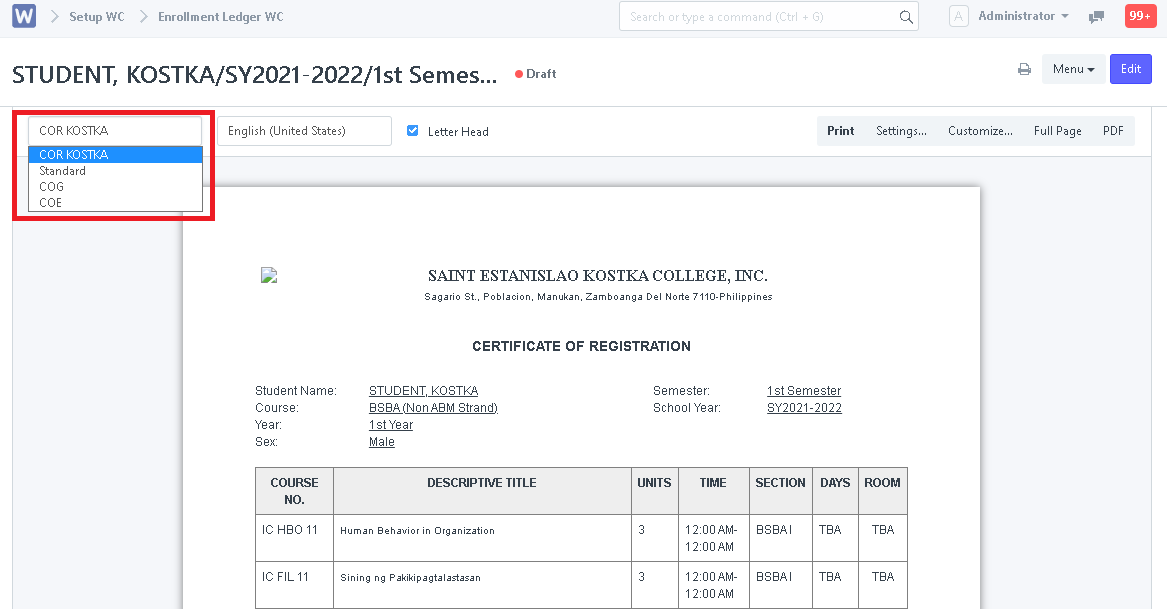
Step 5. You may then print their COR/COE to certify that students are now officially enrolled.