Step 1. Log in to the Portal.
Step 2. Search ''Generate Closing Account List'' in the search bar.
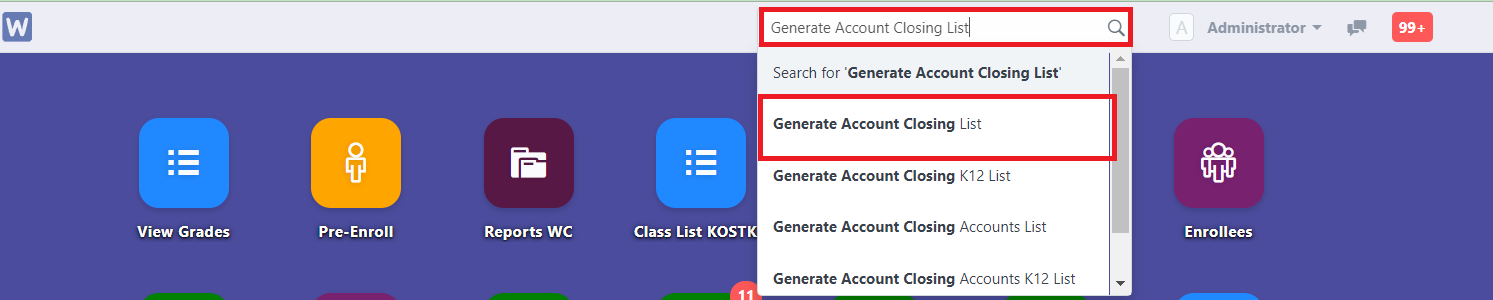
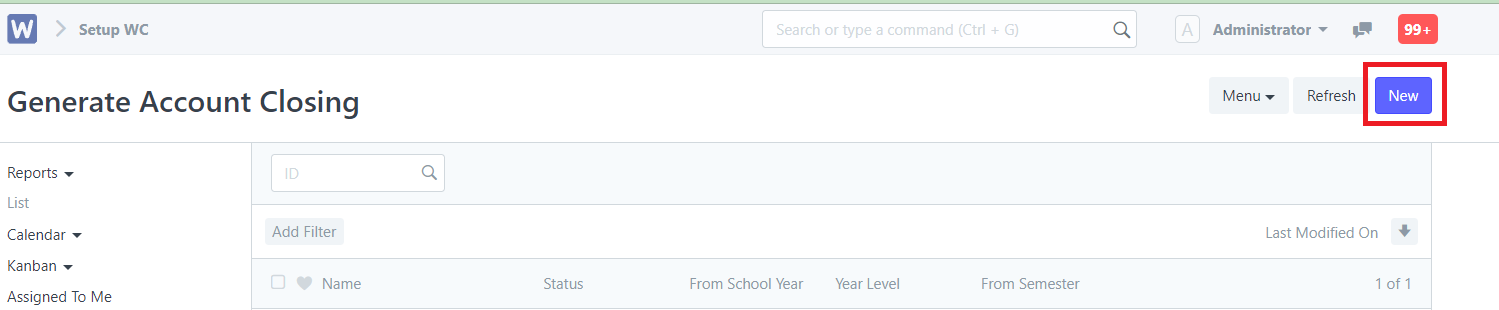
Step 3. Click ''New''
Step 4. Fill in all the details especially the red text boxes.
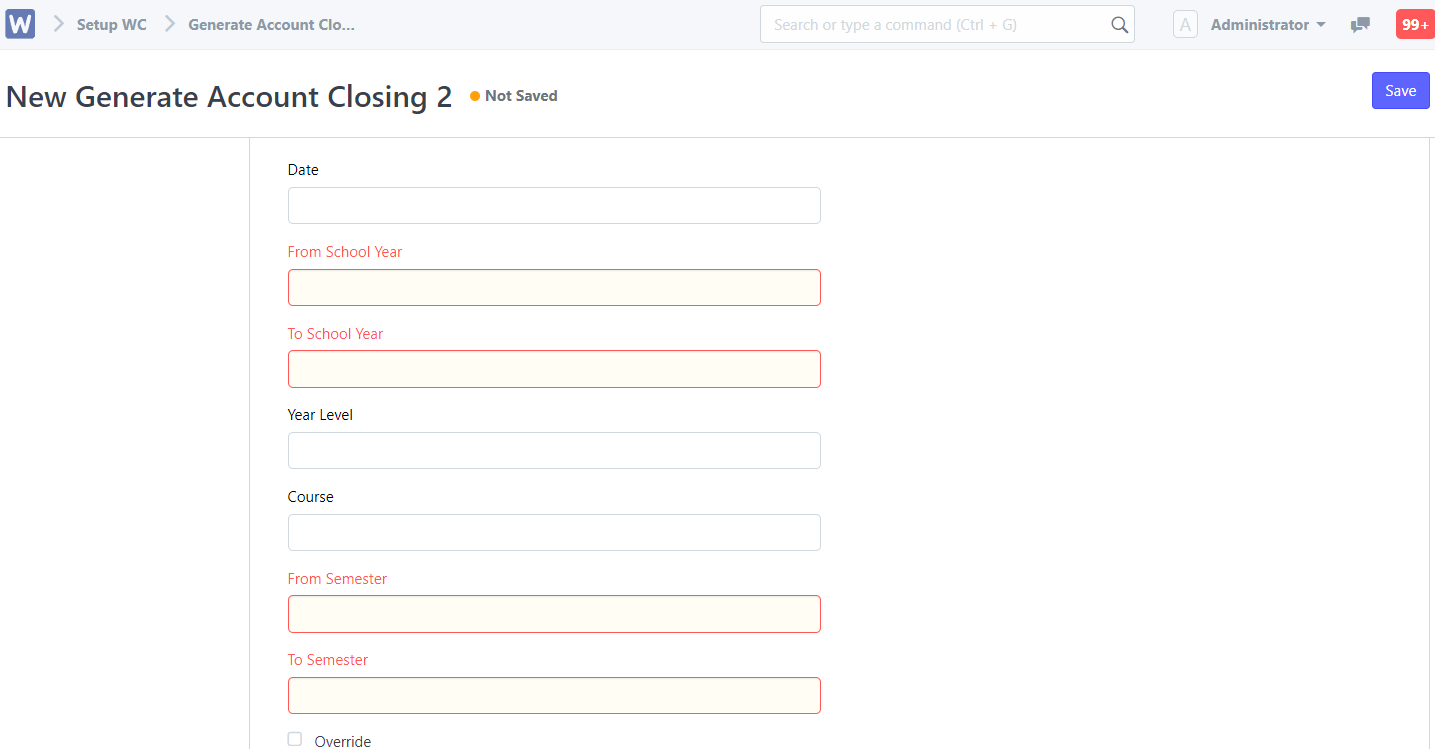
Below is an example of data entries
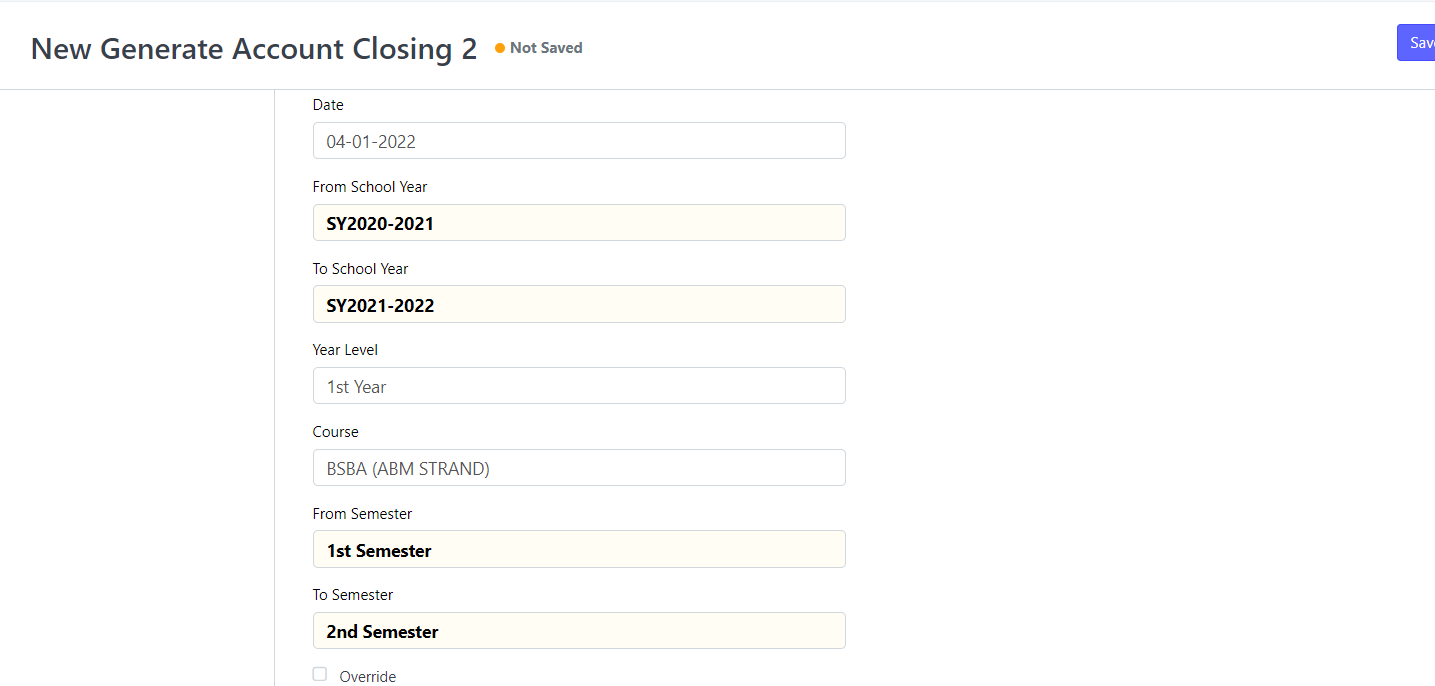
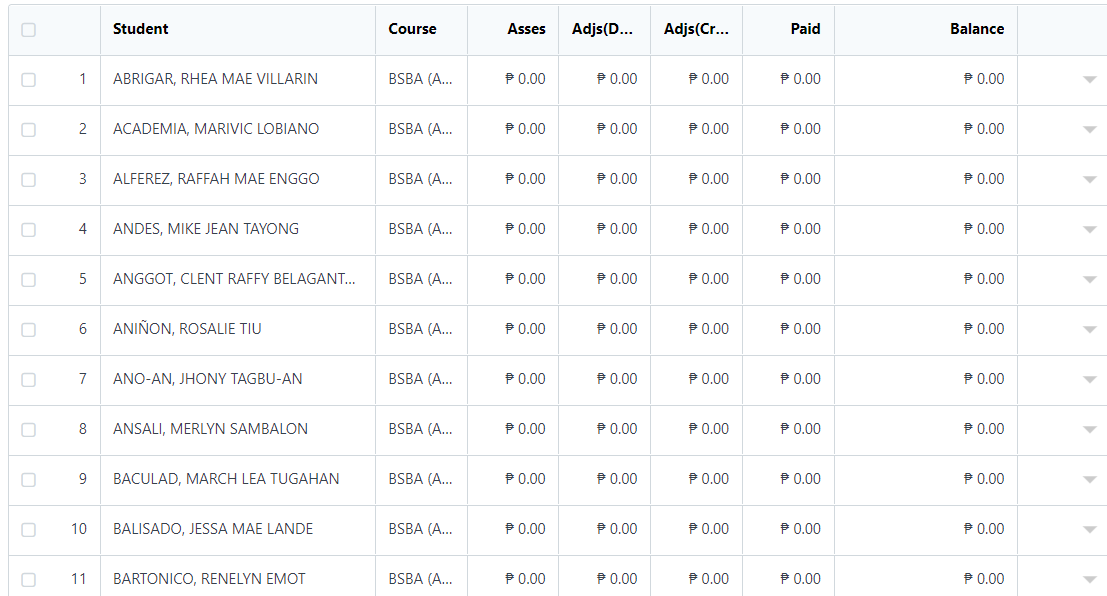
Click ''Save'' filling all the details so that the students will auto generate in the table below. Sample below
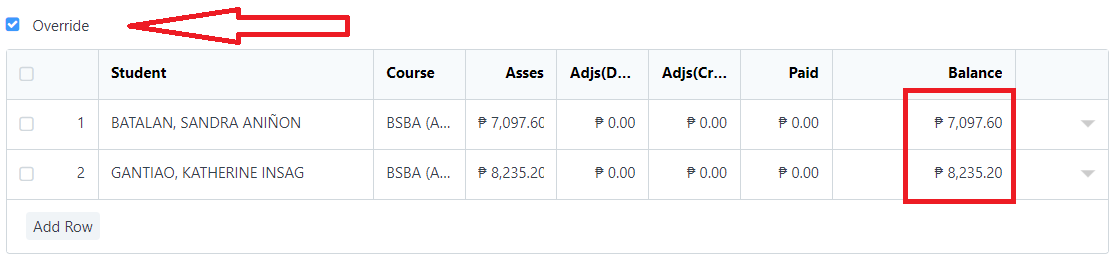
If you have clicked the Override to check, you have the option to edit the balance of the student.
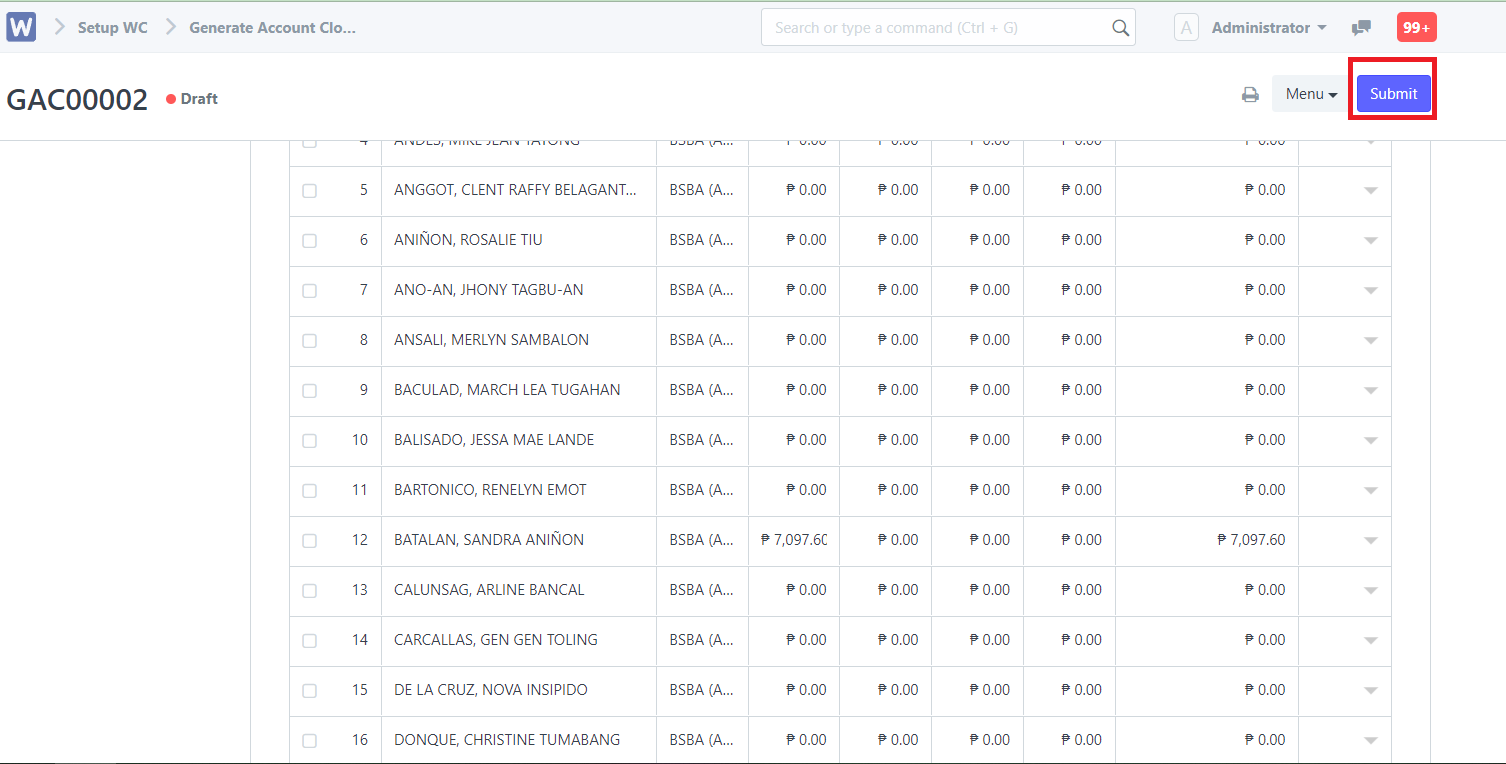
Then just click ''Submit'' to confirm
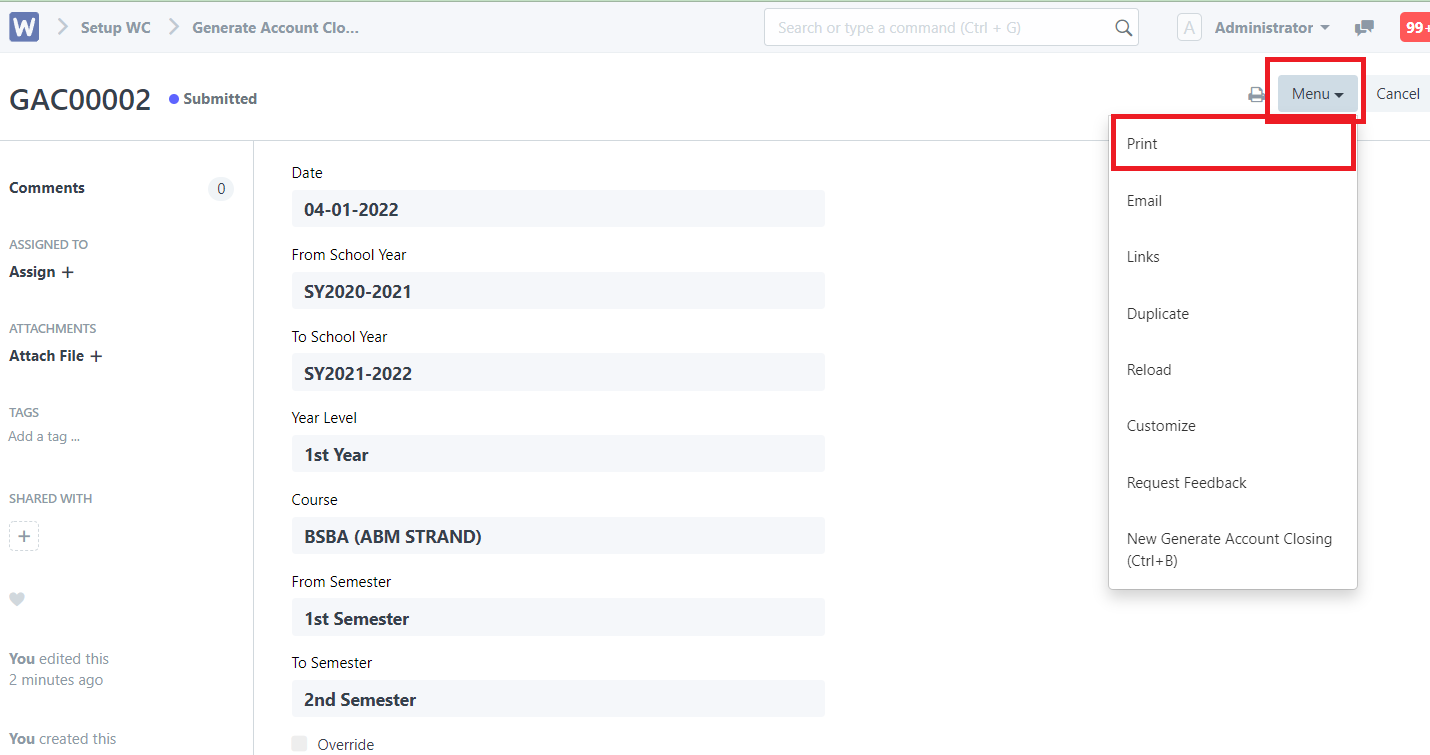
After submitting, the status will be automatically be ''Submitted'' in the system

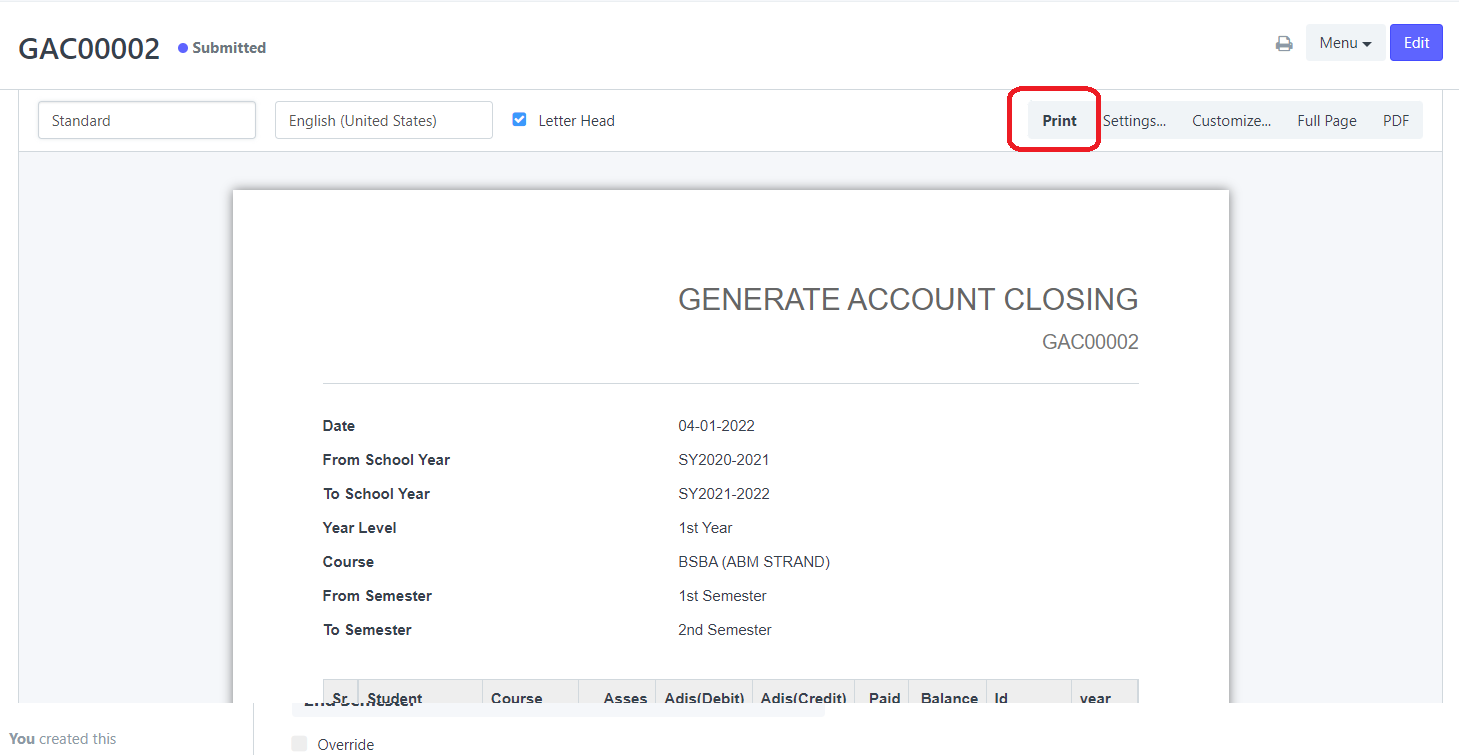
If you wish to print the list of accounts, you may do so by clicking ''Menu'' and click ''Print''
Click the ''Print'' again to redirect you to the print preview page.
You may then edit the print size and margins etc...
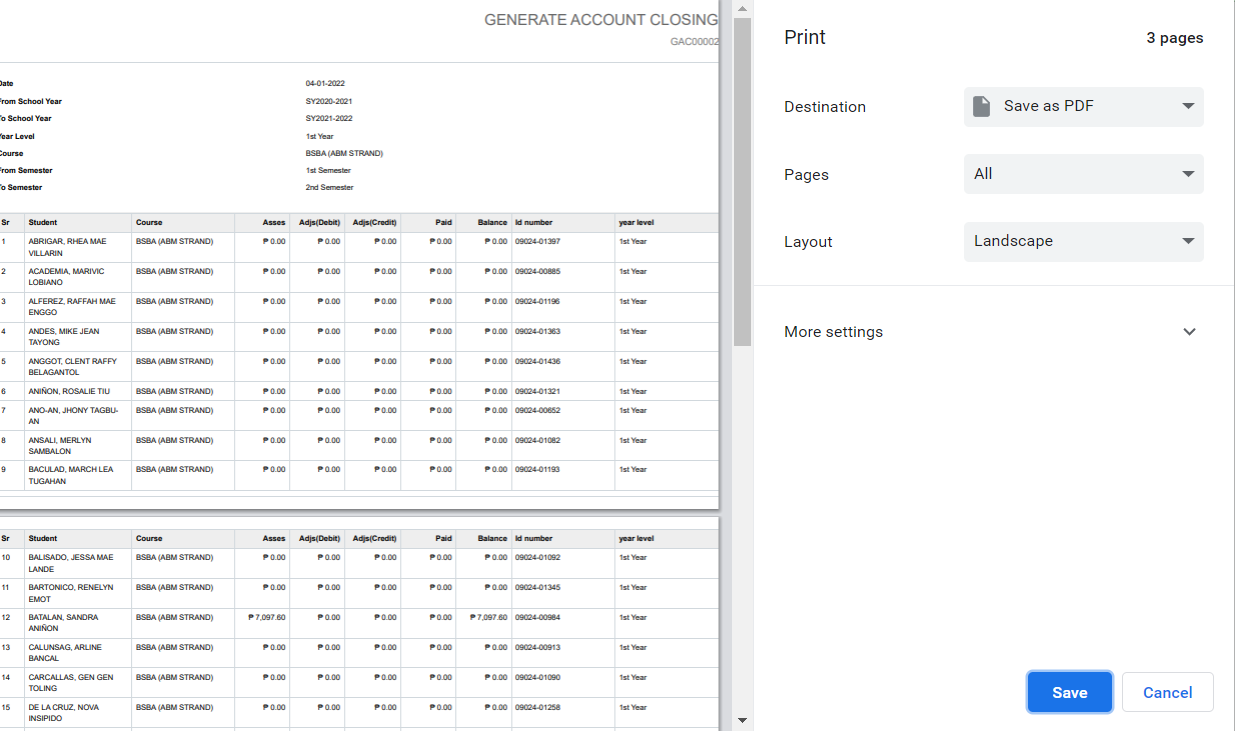
after editing just click ''Save'' or ''Print''